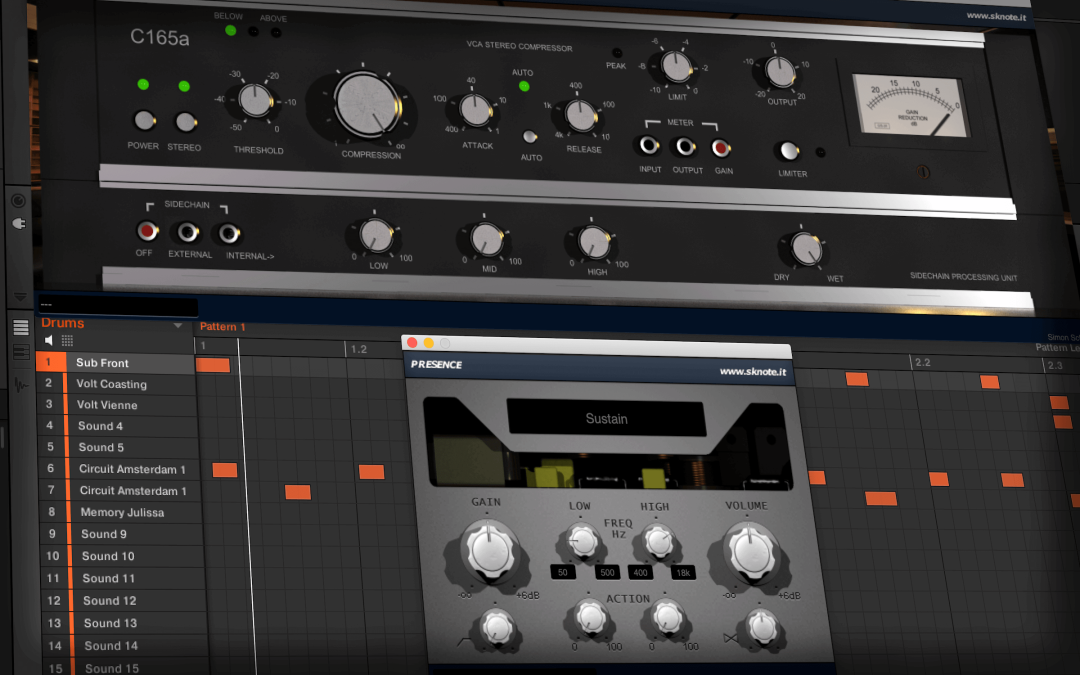
Deep kick drums, snappy snares, and fast hi-hat rolls–these are the ingredients of a classic hip-hop or trap beat. In this tutorial, we’ll show you how use the Presence and C165a plugins to give your drums the final touch and make them pound by using a combination of dynamic excitement and compression.
Getting ready
We’ve already processed the individual drum tracks with some equalization and compression courtesy of Strip V3. Now it’s time to work on the group as a whole – but before we begin, let’s first define what we want to achieve in the end.
Our main goals are:
- Enhance the individual drum hits
- Add weight to the beat
- Glue everything together
With these prerequisites in mind, we’re now ready to go!
Exciting times
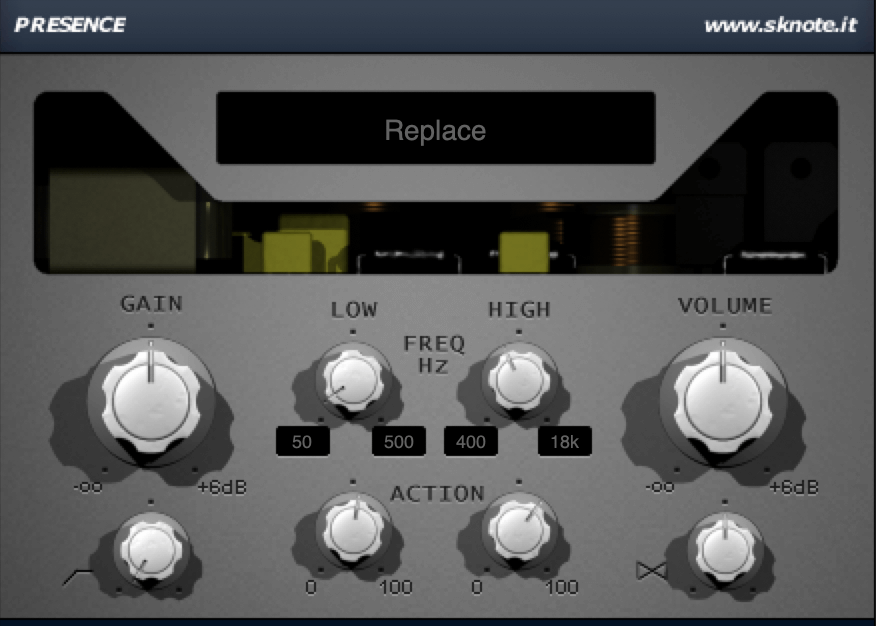
We start by opening up an instance of Presence on the drum bus. Being an exciter, this plugin adds new harmonic content to the original signal (in contrast to an EQ, which can only boost or attenuate frequencies that are already present in the source material). Next, we choose the algorithm or mode of operation. We go for Replace so the generated harmonic content ducks the corresponding frequency band in the original signal. Nonetheless, feel free to experiment with the other algorithms, too, to find the one that sounds best to you.
After that, we move on to the main controls. We want to use Presence to emphasize both kick and snare, thus we set the LOW control to 60Hz and the HIGH control to around 7.5kHz. These settings reflect the most prominent frequency areas of the bespoken drum hits – when you work on your material, you might want to go for different values to achieve the best result.
As of now, the plugin doesn’t do much to our drums, we first have to increase the corresponding ACTION controls. Since the kick already contains a lot of low-end information, we don’t want to overdo it – a setting just above noon should be enough. The snare, however, could use a bit more enhancement, so we set the control to about two o’clock.
It’s worth noting that the overall effect of Presence is rather subtle. We don’t want to drastically alter the original sound of the drums but only emphasize their main characteristics.
This is how the interface of Presence looks like now:
What drum samples should I use for a hip-hop/trap beat?
Especially trap music is known for super-low kick drums. If you choose an 808-style kick sample, you can’t go wrong. However, be aware that small speakers and cheap headphones often can’t reproduce very low frequencies. There are several ways to make the kick properly audible on those systems, for instance:
- Use saturation to add more harmonics to the signal
- Layer another kick sample on top of the original one; this second sample should contain more high-frequency content
As for the snare and hi-hat, sticking with an 808-kit is often a good starting point. By layering other samples on top of those, you can then create your unique signature drum sound.
Tip: If you’re looking for new drum samples, check out our online drum machine wwwwave.
Compression without compromises
Now that we’re content with the general sound of our drums, it’s time to glue them together and add that extra bit of weight. We’ll be using the C165a VCA compressor for that purpose – a faithful recreation of a famous hardware unit. While providing many powerful features such as internal/external sidechain, switchable auto-release behavior, and a built-in limiter, this plugin is still very easy to use.
We insert C165a after Presence on the drum bus. There are a couple of things we need to take care of, so let’s break them down step by step:
- Compression: By default, the COMPRESSION control is set to maximum. This is fine in our case because we’ll use a technique called parallel compression or New York compression – more on that in a second.
- Threshold: We set the threshold so that the yellow LED above the control is lit; the VU meter should display 5 to 10dB of gain reduction.
- Sidechain: To avoid the very low frequencies of the kick drum triggering the compressor, we activate the internal sidechain of the C165a and engage the high-pass filter by turning up the LOW control. If you want to learn more about sidechain high-pass filters in compressors, take a look at this blog post where we discuss this functionality in greater detail.
- Attack and Release: To achieve a punchy sound, we choose a long ATTACK and fast RELEASE time.
- Auto-release: The auto-release functionality of the plugin is great when you’re looking for a balanced and smooth effect – in our case, however, we’re rather aiming for a more aggressive tone, so we turn the auto-release off by clicking the AUTO button.
- Dry/Wet: At the moment the compression effect is very obvious. In fact, it’s too obvious, too snappy. That’s why we use parallel compression: By turning the DRY/WET control to the left, we bring some of the original (dry) signal back and blend it with the heavily compressed (wet) one. This gives us a punchy overall sound that still carries enough dynamics to let the drums breathe.
- Output: Lastly, we use the OUTPUT control to compensate for the loss in volume caused by the compression.
The interface of C165a now looks like this:
The Result
Time to recap: We first used the Presence exciter to enhance the kick and the snare, and then used parallel compression with the C165a compressor to bring the individual drum tracks closer together and add more punch and weight to the beat. Below you can take a listen to the unprocessed version and the final result with both plugins engaged:


